Hi all,
Just before new years I uploaded my XenServer documentation script to GitHub, you can find it here:
In this post I will go through how to use the script and how to report any feedback to me. I also want to do a huge shoutout to Iain Brighton for making the PScribo module which is just awesome for report making!
- Download the code from here: https://github.com/mracket/XenServer-DocumentationScript/archive/master.zip
- Download PScribo from here: https://github.com/iainbrighton/PScribo/archive/dev.zip
- Download PowerShell SDK for XenServer here: https://www.citrix.com/downloads/xenserver/product-software/xenserver-73-standard-edition.html
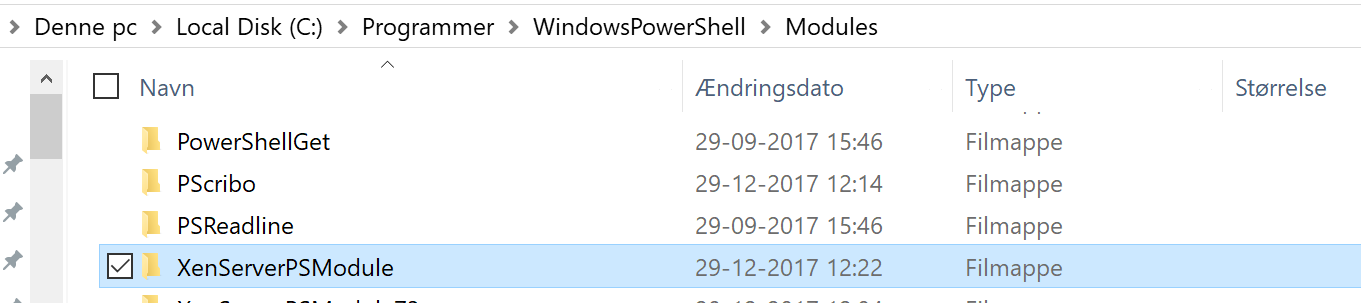
- Place the PScribo and XenServer SDK module in the PowerShell modules folder
- Set your PowerShell execution policy for unrestricted while running the script, this can be done with the following command while you are in PowerShell commandline as administrator “Set-ExecutionPolicy Unrestricted”. If you don’t know which execution policy you have running you can see it with this command “Get-ExecutionPolicy”

- While running the PowerShell commandline change to the folder where you placed the downloaded script and run the script like this “.\New-XenServerReport.ps1 -PoolMasterIP 10.10.10.10 -UserName root -Password Password -ReportFormat html -Verbose”. Remember to change the values to fit your environment. The parameters supports tab-complete. Also remember that you can add more pools at the same time by just adding poolmasters like this -PoolMaster “10.10.10.10”,”10.10.10.20″,”10.10.10.30″
- The script will output the poolmaster that it is working on and return to the prompt when done.

- The report will be placed on your desktop (I will add a paramter to this later on) and you can then open it with your favorite browser, word or text editor depending on which output format you selected.
- A report will look like this:

- Remember to set back your PowerShell execution policy to what you had before running the script
I hope you can use this script for your environments and if you have any enhancements you want in the script let me know. You are also more than welcome to provide any other feedback and bugs to me via twitter @mracket or the GitHub page https://github.com/mracket/XenServer-DocumentationScript/issues
/Martin