Skip to content

Nutanix

Nutanix integration with Citrix Director

Hi all,

In this post, I will show you how to integrate Nutanix Cluster and Citrix Director which provides you with some cool data in your Citrix Director. The data from Nutanix can really help you provide a great initial indication on where a problem might be, and on the flip side it also shows you how great your system is running. If you want to view a video on this instead (or as well) of reading the blog I have put one on youtube for you. You can see it here: http://youtu.be/l8-8dnembOc?hd=1

So here goes.

Grab the Nutanix Director plugin from the Nutanix support portal, you will need an account with access to login here.

When you have, the plugin downloaded we are ready to begin the installation.

Step 1

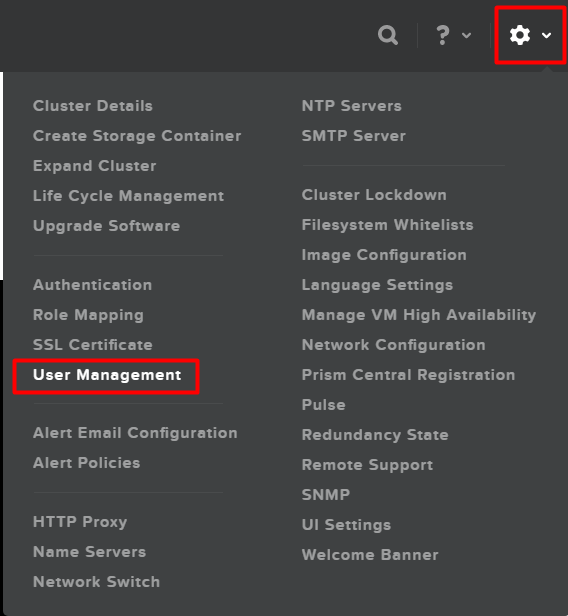
Step 1 is to create a user on the Nutanix Cluster that we can use in Citrix Director. So, log into Prism – Click on the wheel in the top right corner and select “User Management”
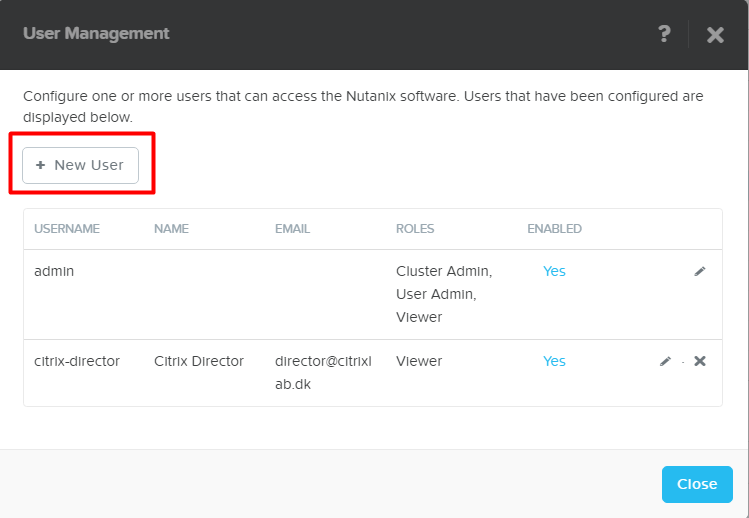
Screenshot_19

Click on “New User”

Screenshot_20

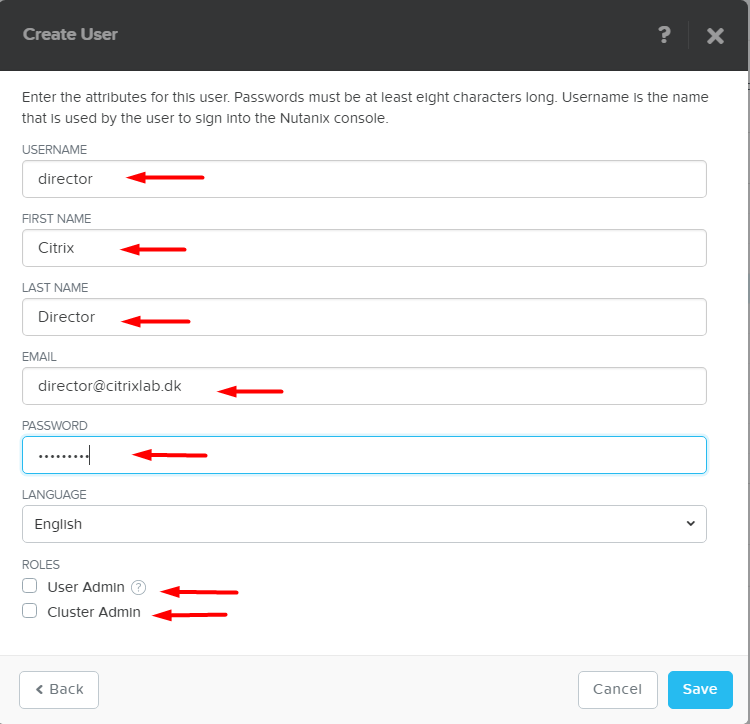
Fill out all the fields and do NOT select “User Admin” or “Cluster Admin”, the role will then be viewer which is just fine for this integration. When all fields are filled click on “Save” and then “Close” to end the user management.

Screenshot_21

Step 2

Copy the Nutanix Director plugin to the Citrix Director server so that we can start the installation.

When the files are on the server proceed with the guide below.

Double click the installation file as marked below.

Screenshot_2

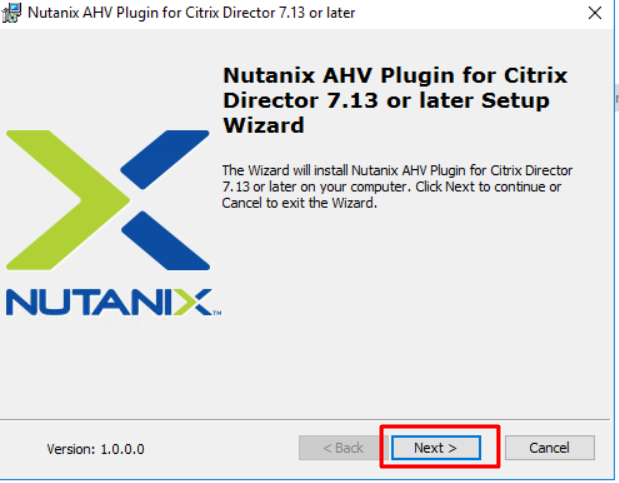
Verify that you are installing the correct version, in the picture below we have the plugin for Citrix Director 7.13 which is what I have in my lab environment. Click on “Next” when ready

Screenshot_3

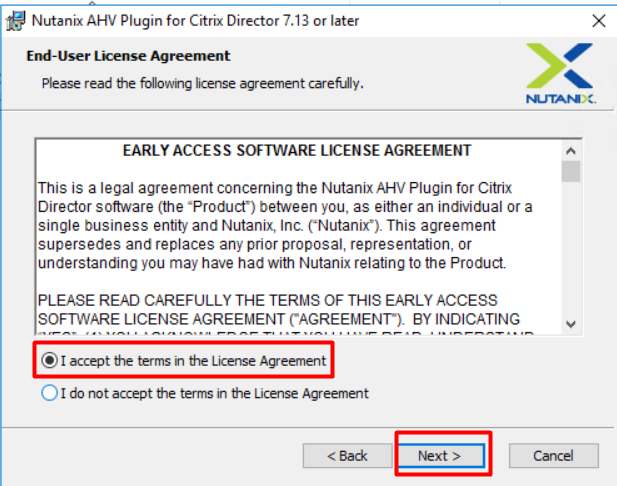
Ready the EULA, mark “I accept the terms in the License Agreement” and then click on “Next”

Screenshot_4

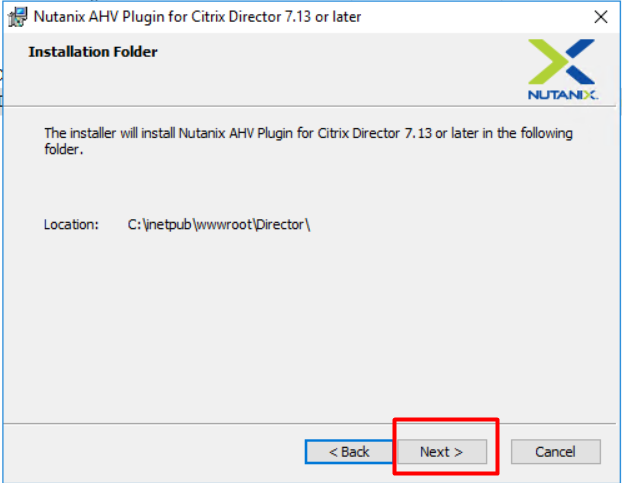
The installer finds the Director folder and will install in this folder as well. Click “Next” to continue.

Screenshot_5

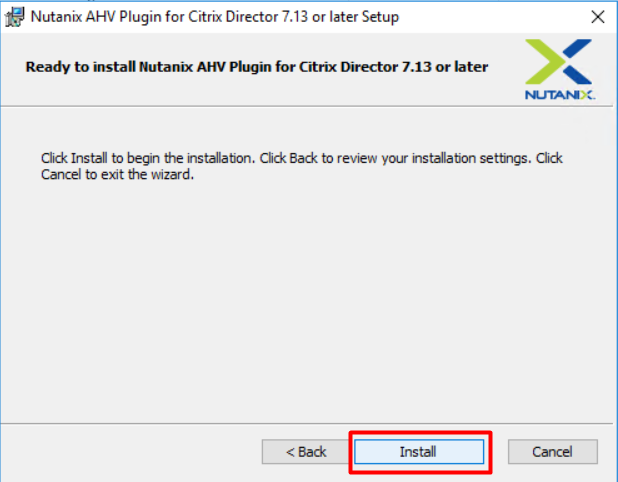
Click “Install” to start the installation. During the installation, the IIS service will be restarted, so if you are doing this in a production environment please notify any potential users of Citrix Director.

Screenshot_6

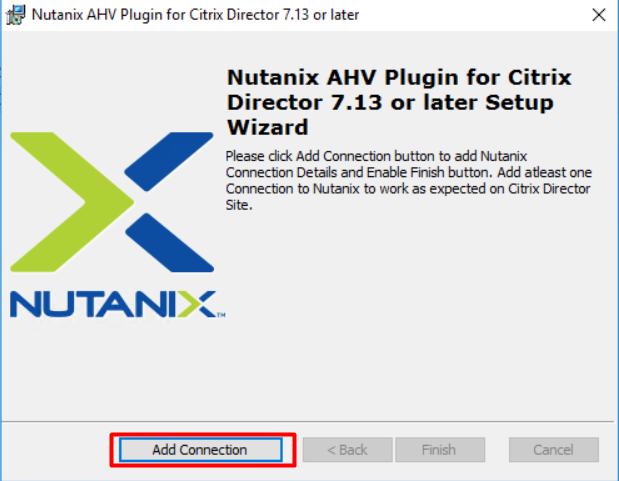
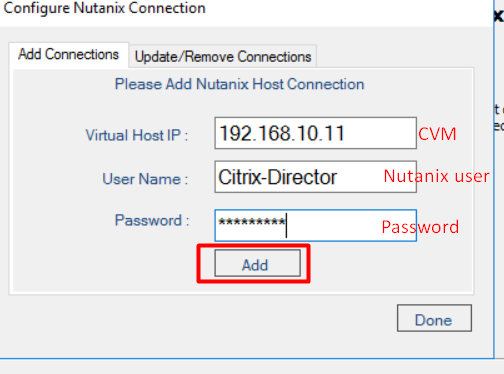
When the installation is completed you need to add a connection to the Nutanix Cluster. This is done by clicking on “Add Connection”

Screenshot_7

On the next screen, you need to type in your CVM server if you have a single node cluster or the “Cluster Virtual IP Address” if you have more nodes. In my case I have used the CVM address, but I have tested this with the cluster virtual ip address as well and works just fine as well.

Screenshot_8

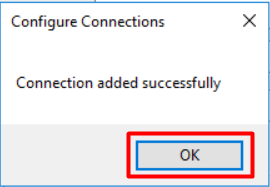
If all is well and good you should see the success screen as shown below. Click on “OK”

Screenshot_9

If you have more clusters you can add them now, or click on “Done” to complete the addition of connections. Clicking done will also restart the IIS service.

Screenshot_10

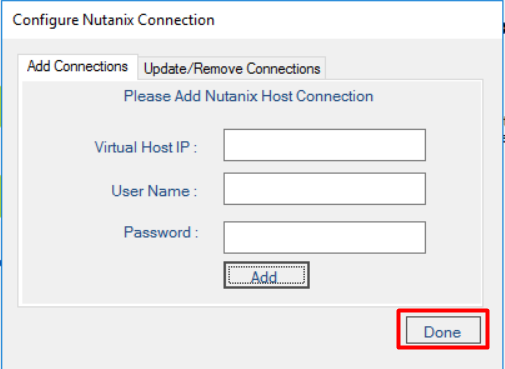
Click on “Finish” to complete the installation.

Screenshot_11

Step 3

Now Nutanix plugin installation is complete so we can start Citrix Director to see the integration in action.

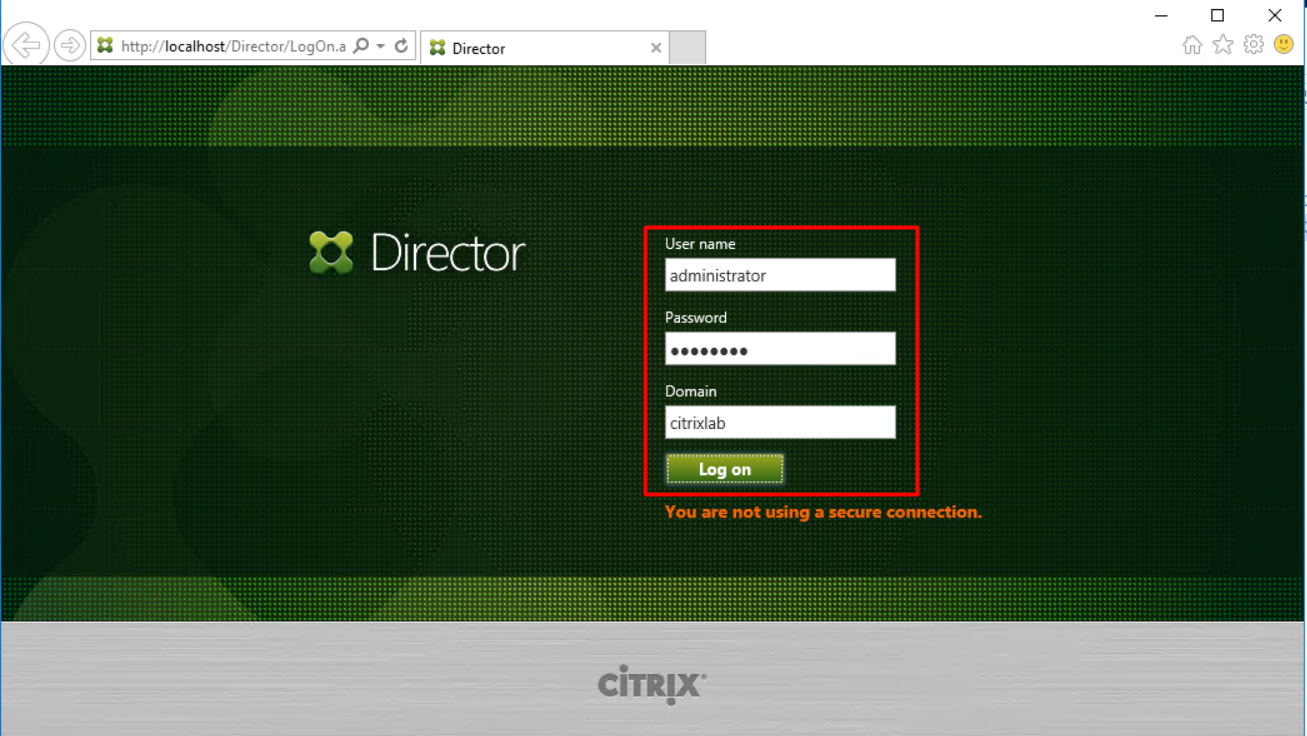
So, start Director from the Start Menu

Screenshot_12

Login into Director

Screenshot_13

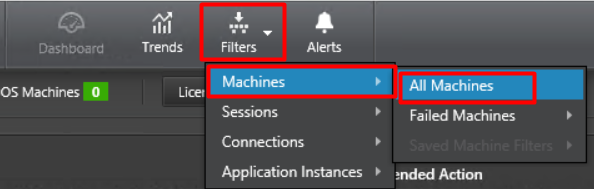
Click on “Filters”, Select “Machines” and then “All Machines”

Screenshot_15

If you have XenDesktops you should see your machines right away, but since I am using XenApp I need to click on “Server OS Machines”

Screenshot_16

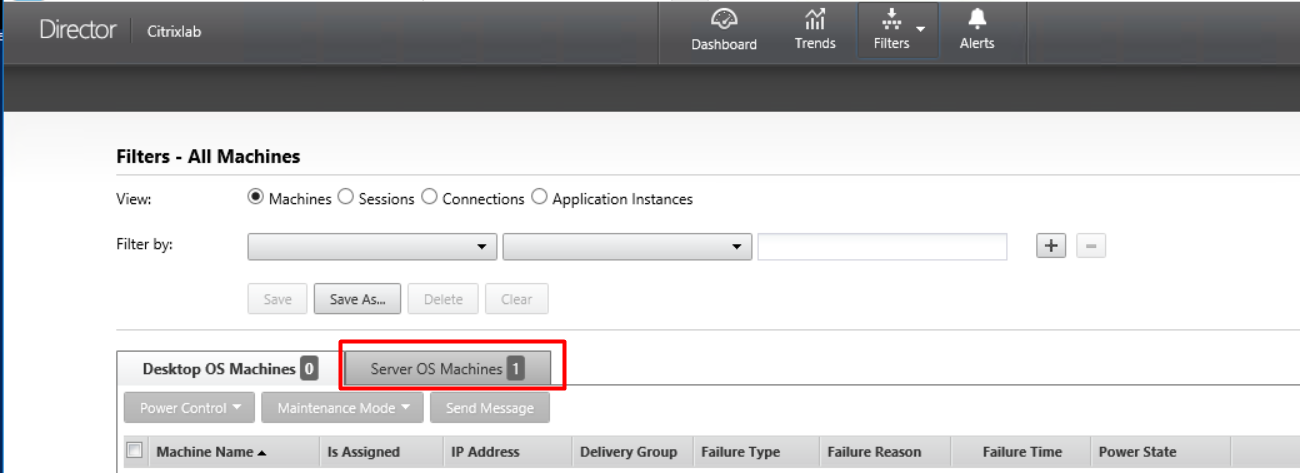
Then I will get a list of servers I can view details on, in my case I only have one so I click on it as shown below.

Screenshot_17

If you scroll down to the bottom of the page you will find a section called “Nutanix Virtual Machine Statistics” when you can see the integration in action.

Screenshot_18

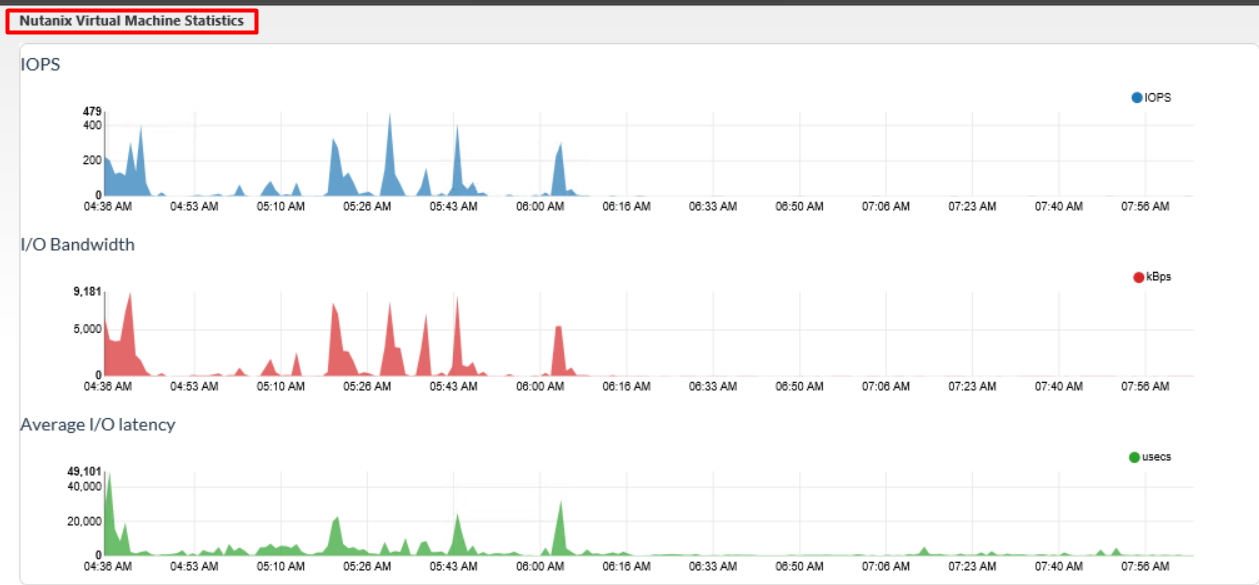
As you can see in the image above the integration pulls in information about IOPS, I/O bandwidth and average I/O latency. With these information, you will be able to spot any spikes or flatlines that the system can’t handle.

I hope this post will be useful when setting up the integration for the first time or just as a small guide to when you need to start over.

Enjoy

Martin

Home lab – Part 4

Hi all,

So, this is part 4 of my series and a post where I reflect a bit about my current setup.

I now have a Nutanix cluster running and I have also gotten a simple Active Directory, SQL and Citrix environment running. The setup is running fine, but I am thinking a bit about why I am using Nutanix for the home lab. It is obvious that Nutanix has some great features like deduplication, file server and self-service portal. These are cool features, but when you are running a home lab like me these features takes up a lot of memory. For instance, if I want to run a Nutanix file server I need 3 file server VM’s with 12GB of RAM for each, this will take up more than half the RAM I have in my machine. If you also add the CVM VM that needs 16GB RAM that makes 52GB of RAM used by features in Nutanix and leaves me with 12GB of RAM for running virtual machines.

Another example if I want to run deduplication, this requires my CVM to have 32GB of memory which then leaves me with 32GB for VM’s…. if I don’t want to run any other features from Nutanix.

From what I have seen with Nutanix so far, the hypervisor has simplicity in mind for the admin/user that are using the GUI for VM administration. The regular hypervisor admin (VMware/XenServer) will be missing some of their standard tasks in the GUI, like for instance adding a disk or a LUN to the host. I haven’t been able to find anything in the GUI to rescan for devices, but I have found a small script on the CVM called ce_add_disk that is supposed to add my newly insert SSD drive. The script however fails on my host, so I haven’t been able to add the additional drive. One of the things I wanted to test with an extra drive is moving a VM to the new storage so the old disk could be remove. This might not be a big deal right now, but from what I have seen some larger customers is that VM’s a regularly being moving to new LUN’s because disks are getting filled with VM’s so some must be moved afterwards. These challenges might well be because I am using the community edition of Nutanix, but none the less it is basic tasks that I can’t figure out.

I still haven’t given up on using Nutanix, mostly because I like the GUI and VM console, but also because it is new to me and it is fun to learn new stuff.

/Martin

Home lab – Part 3

Hi all,

This is part 3 of my home lab series, but it is going to be a quite short post. The reason for the short post is, that I have tried to create two videos which are now online on YouTube and the videos shows how I configured my home lab after Nutanix CE was installed. In the description on the first video there is a link showing how to install Nutanix CE if help is needed on that.

Video 1 is about the first configuration I made after installing Nutanix CE, you can see the video here:

Video 2 is where I create my first VM on the Nutanix single node cluster. The first VM will later become my domain controller. Video 2 can be seen here:

Hope they are useful and as always, any feedback is very welcome.

/Martin

Nutanix first experience

Hi all,

This will be a post about the first things I have noticed about Nutanix in my home lab.

First thing is that the GUI looks amazing and feels quick and smooth, so a positive first encounter with this.

Overview

When that is said the GUI also seems to be lacking some of the usual information that I find in a vCenter or XenCenter. For instance, how can I set up a management NIC and team up other NICs, these steps might not be needed on a Nutanix cluster, but that is something I need to read up on to make sure. Another thing that I find a bit weird is that not all information on the overview (Home) page are links but some are, why not make them all links so the information links to the resources? An example is “VM Summary” right now that is telling me that I have 6 VMs, but I can’t click anywhere to get a list of those VMs. When I need to manage a VM you need to go the “VM” page, click on “Table” and then you can see a list of VMs, that is also quite a long way I think.

Another thing that sort of bothers me in the GUI is when you create a new VM you need to add a disk and network card each time, these two should be standard since a VM without network and disk seems kind of useless to me. When you do add a disk to the VM the “Create VM” wizard jumps down to the bottom so added another disk or mounting an ISO requires me to scroll up again to do so. These might be small things, but they could probably be fixed quite easy.

After a few “bad” things, lets focus on some of the good things. As I first said the GUI looks amazing and it is easy to find what you are looking for. The menu items all makes sense so even for a first-time user creating a VM won’t take long. It is also cool that you can see some key performance indicators right on the VM table view like shown below.

VM Overview

If I shift focus a bit and talk about the performance I get out of my new home lab with Nutanix I must admit that I am impressed. Everything feels fast and nice and the possibility to remote control a VM directly from the webpage is awesome. I haven’t done and specific performance tests, but the feeling of the whole system is great. I have still a lot to dig into about the Nutanix CE edition and I hope to have the time for it as well now with Synergy coming up soon.

The last thing I want to mention in this post is Powershell for Nutanix. The download of the cmdlets is easy since it is placed on the web portal for Nutanix CE, and the MSI file installed without any issues. After installation, I got a new icon for Nutanix cmdlets, but I didn’t do anything for me, a short blink is all I got. When going into my normal Powershell prompt I could go to the folder and find a file that said install cmdlets. After changing my execution policy, I could get the import done and as it turns out it is a PSSnapIn and not a module. For me the PSSnapIn is pretty old so I don’t get why vendors haven’t shifted to modules yet. Citrix is also a vendor that has been a long time doing the shift, but most Citrix software haven’t been converted to Powershell modules instead of snapins. The help files for the cmdlets could also use a brush up since there are no examples and the descriptions could also be a bit better.

After writing this post you might think that I don’t like Nutanix, but that is far from the case. I really like using it and for normal hypervisor tasks it works excellent, running VMs and providing performance data is something that really seems to have been a priority from Nutanix and that is something I really appreciate. I also expect that the more I use Nutanix the easier it will also get to find my way around in the GUI and Powershell cmdlets.

I hope that this post can be useful for others and please comment here or via twitter if there is something I am wrong about or if you just have a something I need to look at.

/Martin