Skip to content

Citrix

Turbo.Net – First try

Screenshot_10

Hi all,

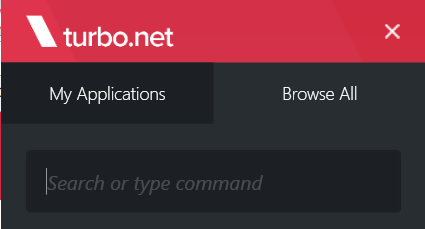
So, the other day Turbo.Net caught my eye on twitter. I have known about the product for quite some time, but never really got around to really trying it out. After writing a bit with Kenji (@TurboKenji) about Synergy I couldn’t let it be anymore, so tonight I downloaded the single user application from the www.turbo.net website and installed it.

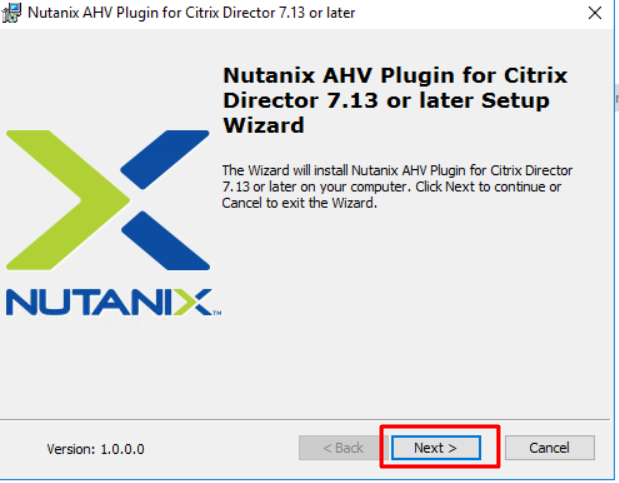
The installation with as simple as can be… Hit install and wait for a min and you are ready to go. The client can be started and you need to login with your account (If you haven’t got one create it on the turbo.net website) and then search for apps that you want to run. I searched for Notepad++ even though I had it installed already, but it was found and a click and it was running using the Turbo.Net container. This might not sound like a big deal, but when you think about it the possibilities with this sort of software is almost endless. From an admin point I only need to install one application to allow my user to run a huge number of application each in its own container. There seem to be several ways to adjust how much integration you want each application to have with the master OS and other applications, this is something I haven’t looked at yet, but I will get into that after Synergy.

From my own point of view, I will also try to see how many of the applications I have on my laptop now that are also in the Turbo.Net “store” to see how small a footprint of installed apps I can get down to on my laptop. I would be awesome to have an almost clean Windows 10 and just the Turbo.Net client installed, but more to come on that later.

Next week is Synergy and I hope to meet a lot of new people and get some interesting talks around Citrix and the applications used along with XenApp/XenDesktop. Also hope to get into some automation chats with other enthusiasts at the conference.

/Martin

Nutanix integration with Citrix Director

Hi all,

In this post, I will show you how to integrate Nutanix Cluster and Citrix Director which provides you with some cool data in your Citrix Director. The data from Nutanix can really help you provide a great initial indication on where a problem might be, and on the flip side it also shows you how great your system is running. If you want to view a video on this instead (or as well) of reading the blog I have put one on youtube for you. You can see it here: http://youtu.be/l8-8dnembOc?hd=1

So here goes.

Grab the Nutanix Director plugin from the Nutanix support portal, you will need an account with access to login here.

When you have, the plugin downloaded we are ready to begin the installation.

Step 1

Step 1 is to create a user on the Nutanix Cluster that we can use in Citrix Director. So, log into Prism – Click on the wheel in the top right corner and select “User Management”

Screenshot_19

Click on “New User”

Screenshot_20

Fill out all the fields and do NOT select “User Admin” or “Cluster Admin”, the role will then be viewer which is just fine for this integration. When all fields are filled click on “Save” and then “Close” to end the user management.

Screenshot_21

Step 2

Copy the Nutanix Director plugin to the Citrix Director server so that we can start the installation.

When the files are on the server proceed with the guide below.

Double click the installation file as marked below.

Screenshot_2

Verify that you are installing the correct version, in the picture below we have the plugin for Citrix Director 7.13 which is what I have in my lab environment. Click on “Next” when ready

Screenshot_3

Ready the EULA, mark “I accept the terms in the License Agreement” and then click on “Next”

Screenshot_4

The installer finds the Director folder and will install in this folder as well. Click “Next” to continue.

Screenshot_5

Click “Install” to start the installation. During the installation, the IIS service will be restarted, so if you are doing this in a production environment please notify any potential users of Citrix Director.

Screenshot_6

When the installation is completed you need to add a connection to the Nutanix Cluster. This is done by clicking on “Add Connection”

Screenshot_7

On the next screen, you need to type in your CVM server if you have a single node cluster or the “Cluster Virtual IP Address” if you have more nodes. In my case I have used the CVM address, but I have tested this with the cluster virtual ip address as well and works just fine as well.

Screenshot_8

If all is well and good you should see the success screen as shown below. Click on “OK”

Screenshot_9

If you have more clusters you can add them now, or click on “Done” to complete the addition of connections. Clicking done will also restart the IIS service.

Screenshot_10

Click on “Finish” to complete the installation.

Screenshot_11

Step 3

Now Nutanix plugin installation is complete so we can start Citrix Director to see the integration in action.

So, start Director from the Start Menu

Screenshot_12

Login into Director

Screenshot_13

Click on “Filters”, Select “Machines” and then “All Machines”

Screenshot_15

If you have XenDesktops you should see your machines right away, but since I am using XenApp I need to click on “Server OS Machines”

Screenshot_16

Then I will get a list of servers I can view details on, in my case I only have one so I click on it as shown below.

Screenshot_17

If you scroll down to the bottom of the page you will find a section called “Nutanix Virtual Machine Statistics” when you can see the integration in action.

Screenshot_18

As you can see in the image above the integration pulls in information about IOPS, I/O bandwidth and average I/O latency. With these information, you will be able to spot any spikes or flatlines that the system can’t handle.

I hope this post will be useful when setting up the integration for the first time or just as a small guide to when you need to start over.

Enjoy

Martin