Citrix App Layering – Basis configuration 4.2 – Part 1 and 2
Hi,
In this blog series I will walk you through the basis configuration of Citrix App Layering 4.2
This first post will contain part 1 and 2 of the configuration. Part 3 will be about role based access and part 4 will be on creating your first OS layer.
Part 1 – Getting the Citrix App Layering 4.2 appliance running
- Download the appliance from this link https://www.citrix.com/downloads/citrix-app-layering/product-software/citrix-app-layering-42.html
- Import the virtual appliance to the hypervisor of your choice, my choice in the guide is Citrix XenServer.
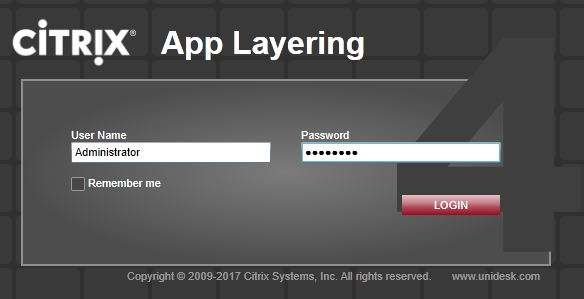
- After the appliance is imported you can grab the IP address and open a web browser and paste it in.
- When the page is open you will be asked to log in. Username is “Administrator” and password is “Unidesk1” by default.
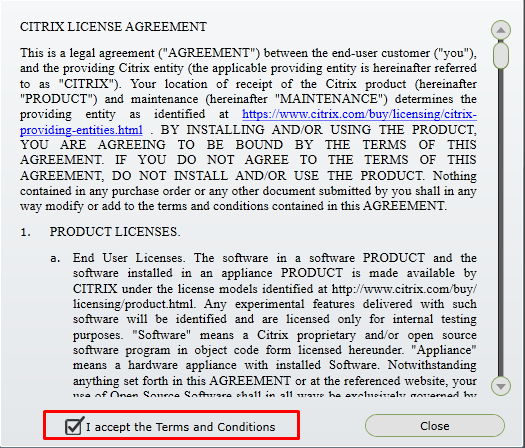
- Accept the license agreement and click “Close”.
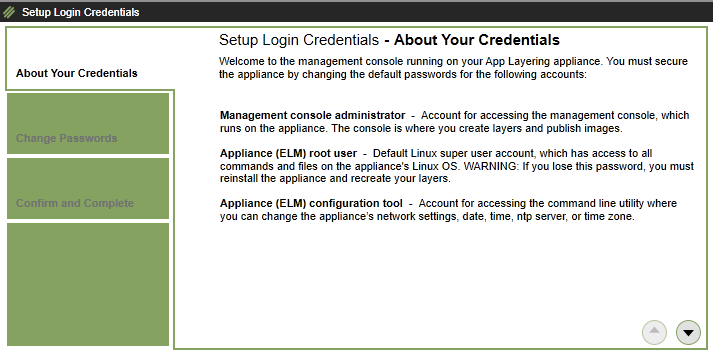
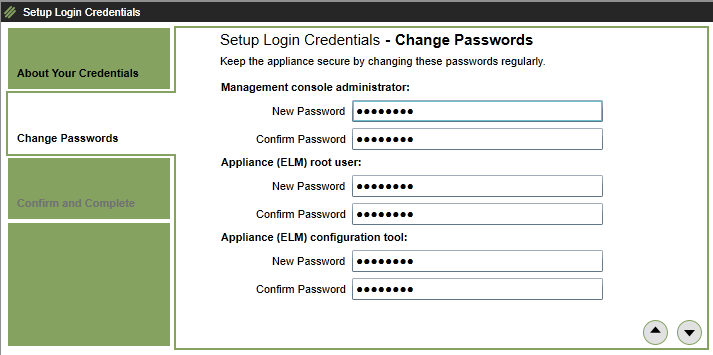
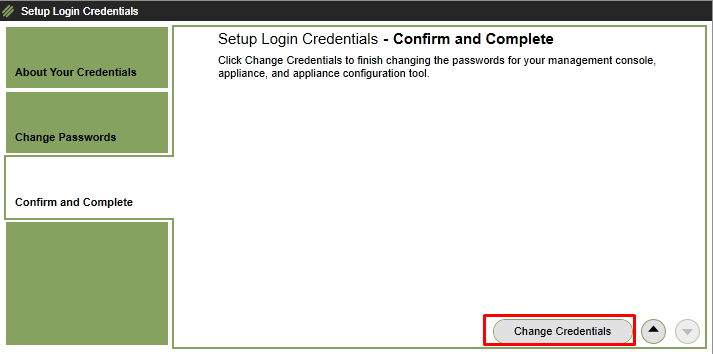
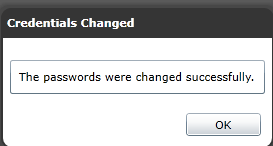
- Change the default password by following the guide as shown in the pictures below
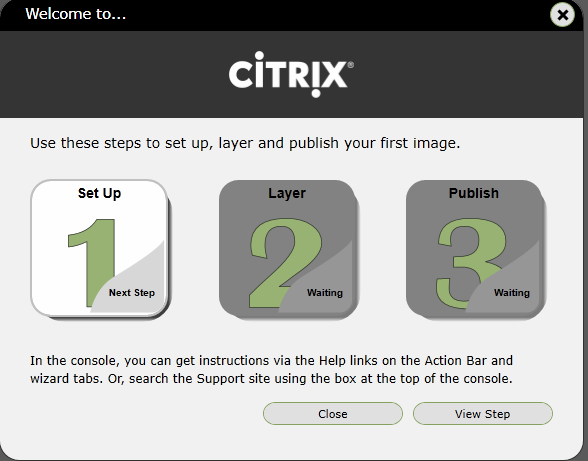
- You will now be presented with a small overview on which steps there are needed create a layer. You can click on “View step” which will take you to the online guidance on creating Citrix App Layers. Here I will click on “Close”
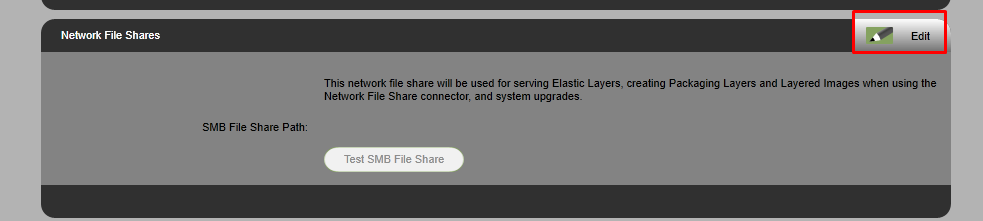
Part 2 – Setting up file share for use with App Layering
- Click on “System”
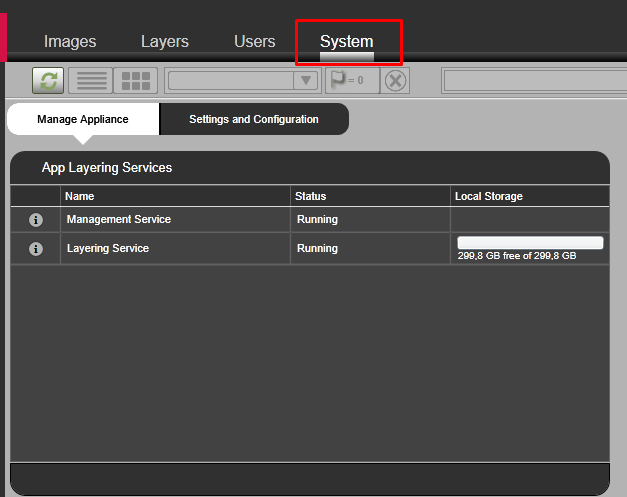
- Click on “Settings and Configuration”

- Scroll down to “Network File Shares” and click on “Edit”
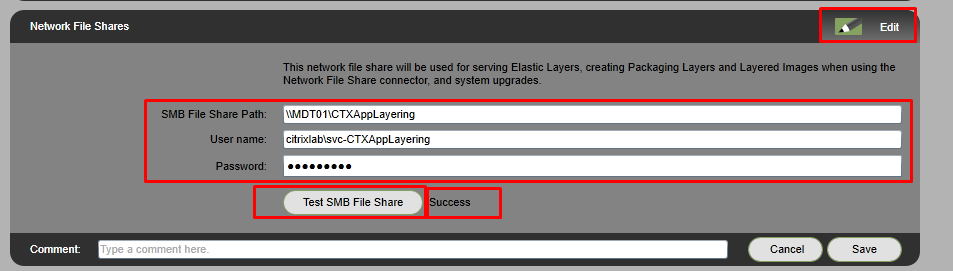
- Type in the path to a network share on a dedicated server or a shared file server. I always create a service account for these purposes, in the picture below you can see I named mine “SVC-CTXAppLayering”. Click on “Test SMB File Share” before you save and you should be a “Success”
This concludes the first two parts of this guide. Part 3 will be up really soon.